You’ve finished a quest of vengeance. The Scorn are running rampant and the Awoken have granted you access to the Dreaming City so that you may finally end the scourge that has infected their homeworld. While The Dreaming City is a superb new location to explore in Destiny 2: Forsaken once you’ve earned your passage into it, it’s also home to a brilliant new mode: The Blind Well
A mixture of the Court of Oryx and Escalation Protocol, The Blind well is a test of your mettle that’ll push any fireteam to the breaking point. It’s well worth tackling however, as Guardians won’t just pick up some sweet loot: They’ll also have a chance to grab rare Seeds of Light to unlock your other sub-class powers. Need to know how to conquer the Blind Well? Well here’s a handy guide to the arena.
Location
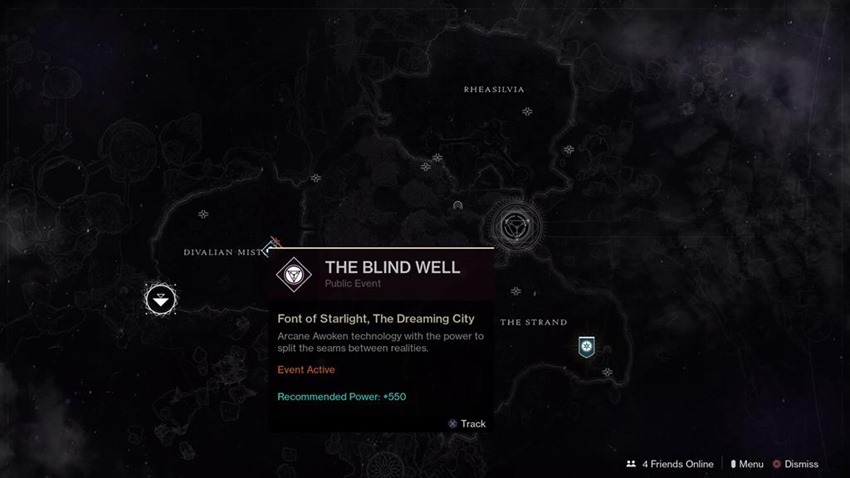
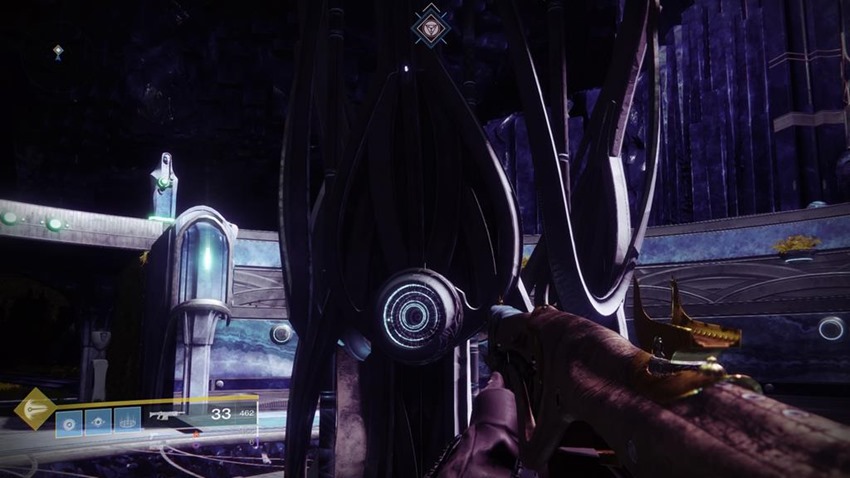
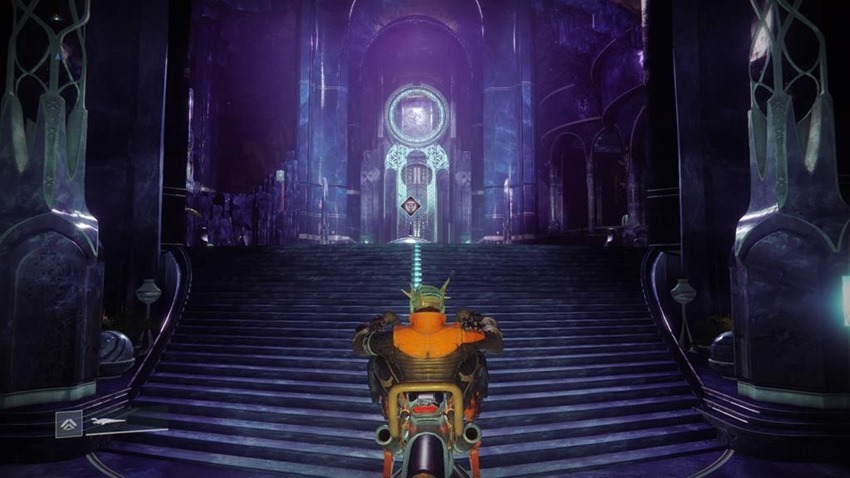
Located in the heart of The Dreaming City, the Blind Well is a short Sparrow ride from where you land. Once you’re inside the vast Awoken palace, go to the center and choose your challenge.
Tiers
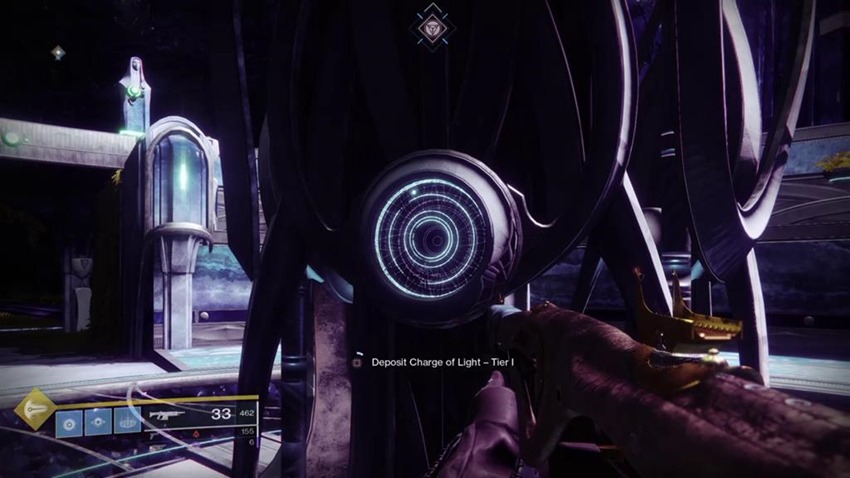
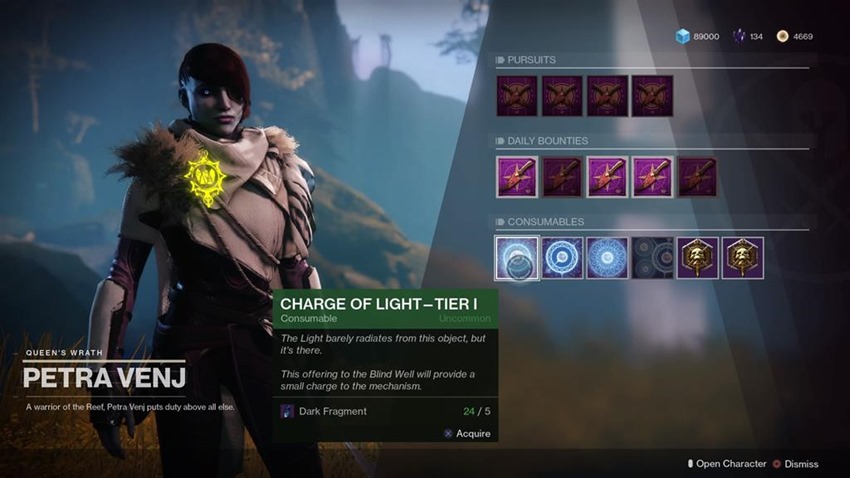
You’ve got three tiers to choose from, each one being more dangerous than the last and ready to test your mettle. To activate a tier, you’ll need to feed it a Charge of Light, which can be purchased from Petra Venj with some accumulated Dark Fragments or you can earn them from in-game activities. Feed the right charge to the right tier, and get ready to fight. Remember, you’re going to want to wipe out enemies to deposit light into the middle, and you need to do so before time runs out.
Tier 1
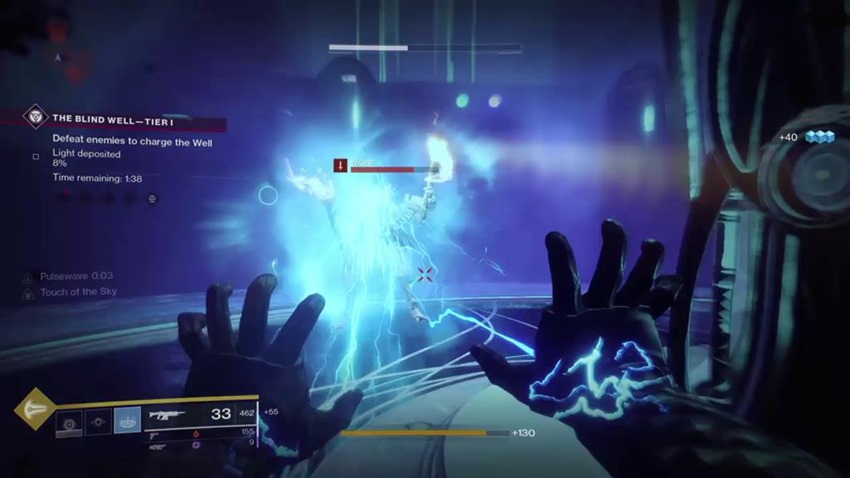
Right, time to fight! A bubble will pop once the tier has been activated, and you’re going to want to stay inside of it unless you like taking environmental damage. Scorn will swarm in, and you’ll face them down as you survive a barrage of Chieftains and stalkers. Tough at the early 500s, but you should be capable of soloing it if you’re equipped for a close-quarters fight. My recommendation? Autorifles, pistols and grenade launchers to thin the herd.
Tier 2

Here’s where the going really gets tough. In addition to all of the cannon fodder coming at you, you’ve also got to deal with Servants of the Plague and the Anathema. Servants of the Plague have shields that regular weapons can’t pierce, which means that you’ll need to focus on the Anathema. They’ll drop a purple ball, which can be collected and will grant you the Harmony buff that allows you to break through those shields.
Only one team member needs to pick up a Harmony buff, at which point all players will be able to focus their fire on the Plague servant and unleash hell.
Tier 3

Holy…f**k. You’re going to want to be scraping the upper edge of your power for Tier 3, as enemies in this stage happen to be around 600 power. Like the previous tiers, you’ve got to deal with disposable hordes, Anathema and Servants of the Plague. You’ve also got to deal with Heralds of the Plague. While you can take them down in the same manner as Servants, Heralds are far tougher and dish out absurd amounts of damage that can wipe a team out in seconds. Kill the Anathema, collect the Harmony buff and pray to your various gods.
Ascendant Realm
Time to go big or go home. With Tier 3 conquered, you’re whisked away to an Ascendant Realm to do battle against three Heralds of the Plague, who’ll be even harder to fight. Survive, reap the rewards and pat yourself on the back for conquering one of the biggest new challenges in Destiny 2: Forsaken.
Last Updated: September 10, 2018


