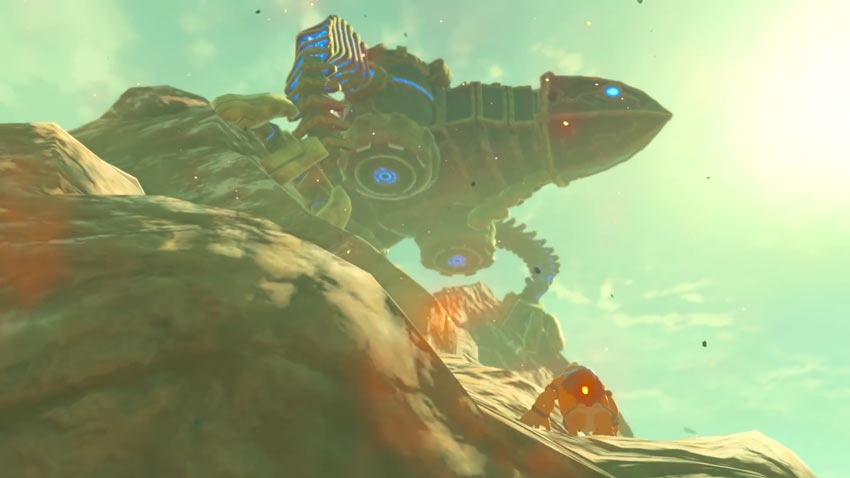
Dungeons, the heart and soul of any game set in The Legend of Zelda universe. They’re where the real meat and potatoes of the franchise rest, a test of endurance, brawn and brains. And they’re a lot harder this time in Breath of the Wild, as you tackle your way through the majestic Divine Beasts of this strange new land. You’ll need to activate five terminals within any of these dungeons, but don’t expect it to be a simple case of pushing a button to get what you want
Especially with Van Rudania, a dungeon master who’ll have you flipping and flopping plenty if you aren’t prepared. Here’s how to survive being inside of the fella.
Getting the map inside Van Rudania
- The lights will go out and you’ll be faced with a Ganon Corruptions
- Take out the eye on the right and then the ey on the left with a few shots
- Go the chest where the left Corruption was, and the chest where the right Corruption was to find a durable torch and a flammable stick
- Light one of the torches, then use it to light the lantern in the right corner to open a door
- Defeat the guardian who comes at you with ranged attacks
- Another Ganon Corruption to face! Go for the eyes Jimmy and you’ll get rewarded with a chest and another lantern in the left hand corner
- Light the lantern, go through the newly opened door and you’ll get a map as you head off further inside in Terminal 1
Terminal 1
- The lights should be back on now thanks to some windows, but don’t ditch your torches just yet
- Go towards the alcove and face the Ganon Corruption. Same story as before, knock out the eyes and earn yourself two chests filled with plenty of arrows
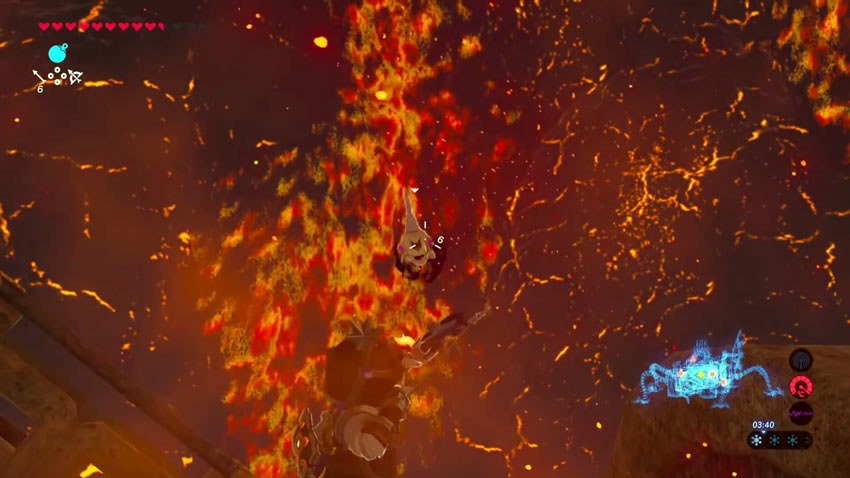
- Here’s where things get tricky. Take cover by the small alcove, open your map and flip Rudania by 90 degrees
- With the room turning, you’ll maintain your position by the alcove and will finish with you pretty much on the ceiling
- Take a leap, glide down towards the terminal and give it an activation
Terminal 2
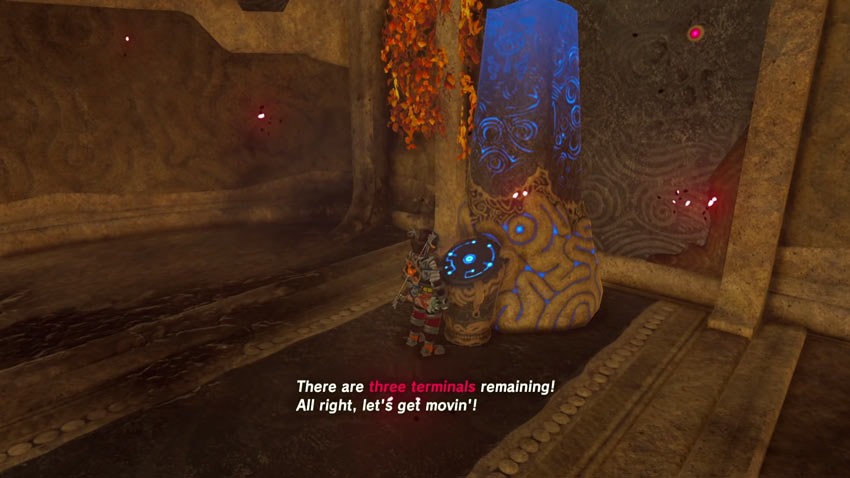
- Now take a leap to the right (but not a step to the left, Frank Furter) and stick to the floor
- Go up the huge ramp and annihilate the two Ganon Corruptions
- At the top and past the entrance that is blocked by corruption, tilt Rudania again by 90 degrees
- Rudania should be laying flat now, so climb the ladder in front of you and land on Rudania’s back
- You’ll find another lantern here, but don’t light it up just yet. Instead climb the fence-ring and prepare to flip Rudania again
- Rudania is now sideways, so you can walk along its spiked scales on its back to reach a chest
- You’ll need to flip Rudania again so that it lies flat once again, as you land on the spikes that adorn its back
- Go towards the head of Rudania and you’ll spot the terminal. Only problem? It’s corrupted yo
- You’ll spot an eye to the left of Rudania, that you can eliminate and then access the terminal
Terminal 3
- Go down the spine of Rudania’s tail to pick up an optional chest. If you want to, because nobody is forcing you to maaaaaan
- Walk back from there to return to the entrance and head down the main chamber that was initially clad in pure darkness
- To your right is a door, that can be melted and lifted with magnesis
- The door is kind of jammed with wood and flora, so you’re going to need to dip into your pyromaniac tendencies and burn everything down
- This can be accomplished either with fire arrows or your torch
- Push the door open with Magnesis and forget that X-Men: Apocalypse was made
- And there’s Terminal 3! We’re more than halfway done at this point
Terminal 4
- Behind terminal 3 are a few more leaves. BURN THEM AND RECOVER A CHEST YES EVERYTHING BURNS HAHAHAHA
- Ahem. Go towards the rear, haul out your bow and position yourself next to the blue lanterns at the entrance. Normal arrows will catch fire here
- Take that arrow to the door on the right and let it fly through the hole in the door towards a lantern on the the other side. LIGHT IT UP!
- With the door open, you can spot leaves on the ceiling of this new room
- You know the drill: Find a safe spot, flip Rudania and then move a box to block the flames in your path
- Flip Rudania again so that it lays flat and you can access the terminal
Terminal 5
- When you’re back in the hall, light up a torch and then head up the entrance and onto Rudania’s back. Find your safe space, flip Rudania and start walking the stone spine of Rudania
- Light the torch on Rudania’s back near the head to open a gate that reveals a ball
- You’ll need to flip Rudania to get the ball into the main room, so prepare yourself
- The ball will eventually end up in the alcove, right opposite the metal doors towards the tail. Goooooooooaaaaaaaaaaaaal
- With Rudania on its side, use Magnesis to push the block towards the up to free to ball
- With the ball falling into the hole, the final door opens and terminal 5 is revealed
Boss Fight Fireblight Ganon
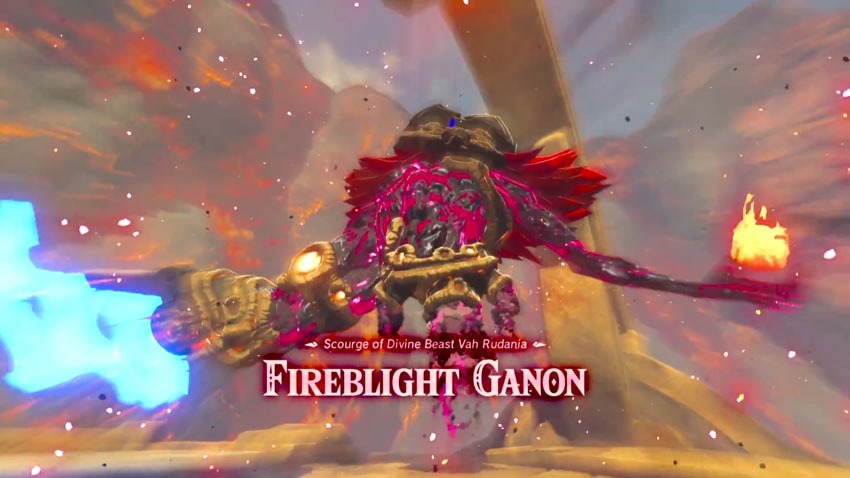
- BOSS TWIST! IT’S TIME TO FIGHT!
- Fireblight Ganon happens to have three phases for you to endure
- First up is a sluggish sword attack, so dodge and attack
- Watch out for when Fireblight Ganon goes wild as well, so keep a shield handy
- His second phase will see Fireblight Ganon hover between the four corners of the battlefield and form a massive fireball
- Fireblight Ganon enters god-mode here, so anything you throw at him is pretty much useless
- HOWEVER, as Fireblight Ganon begins sucking in all of that fire, you can chuck a bomb at him and he’ll gobble it up because he’s kind of stupid when it comes to dietary choices
- With the bomb going off like Ben Affleck in Phantoms yo, you can rush the bugger and twat him good and proper with some more damage
- In his final phase, Fireblight Ganon starts mimicking his guardians with laser-like targeting
- Take the fight to him, dodging the attacks as you run in and land some big damage
- And after a bit of that, it is over! Fireblight Ganon is defeated and you’ll have earned Daruk’s Protection, a power that buffs your shielding for three attacks at a time
Last Updated: March 6, 2017







Alien Emperor Trevor
March 6, 2017 at 15:49
Hopefully you’ll tackle this beast in your next guide:
http://www.wwe.com/f/styles/og_image/public/rd-talent/Bio/Bam_Bam_Bigelow_bio.jpg