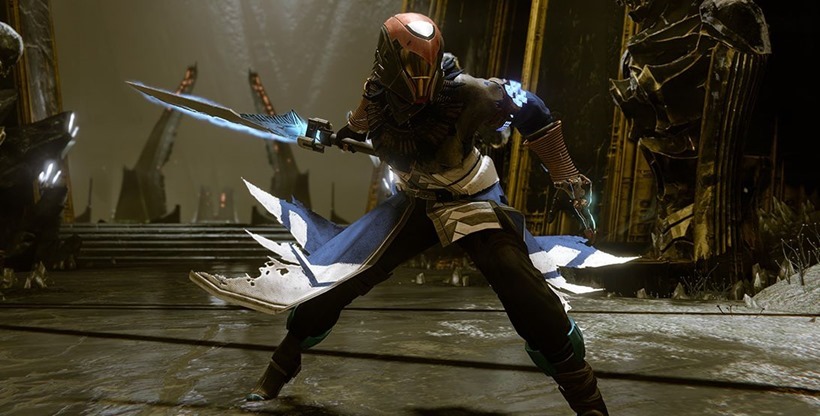
All rise! Court is now in session! Judge Oryx presiding! The accused stands before you today, to answer for the crime of having slain Crota with his own sword, and getting some totally bitching gear afterwards. How does the accused plead?
Swag yo.
The Court of Oryx is easily one of the best new additions to the world of Destiny. A public event boss fight, the Court is a tough zone that shows no mercy, as various bosses are summoned to deal some damage on your shiny ass. Here’s how you can survive an extinction event on two legs.
You’ve got three tiers to navigate, with each one being progressively more difficult than the last one. Here’s a quick reminder on how to use Runes to activate those tiers.
Tier One
The first tier in the Court will throw one of six random bosses at you, each one boasting various mechanics that you need to figure out.
Vorlog – Hive Knight
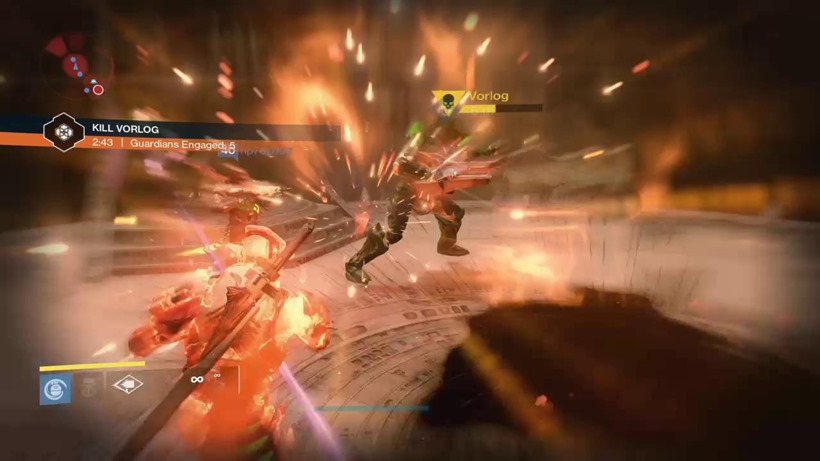
Whenever Vorlog’s shield is whittled down, it’ll quickly recharge with a new elemental resistance. Just switch up your elements, and you’ll be gravy.Cra’adug and Mengoor – Hive and Taken Knights
The trick here, is that you need to get Cra’adug and Mengoor close to each other. One Guardian will need to act as bait, drawing one of the Knights to the other. When one Knight is dead, the shields will drop on the other.
Lokaar – Hive Wizard
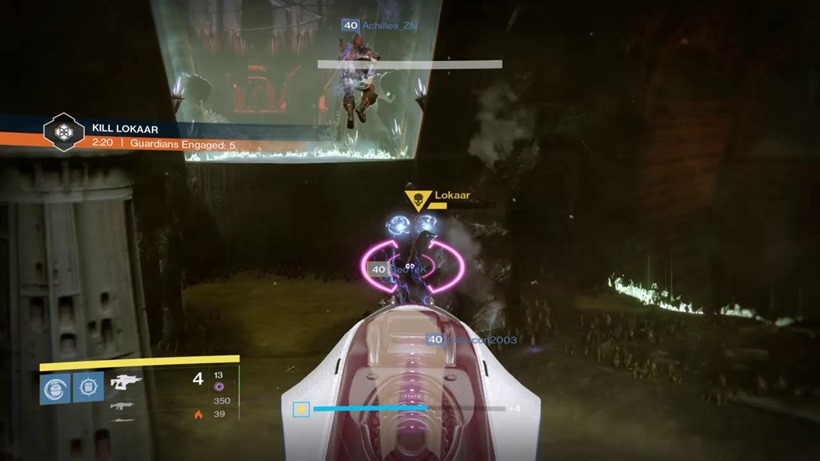
Lokaar is easy to dispatch. Just whittle one of his elemental shields down with the appropriate elemental gun, and keep an eye out for him when he teleports, as he is a bit of a bullet sponge.
Alzok Däl, Gornuk Däl,Zyrok Däl – Hive Wizards
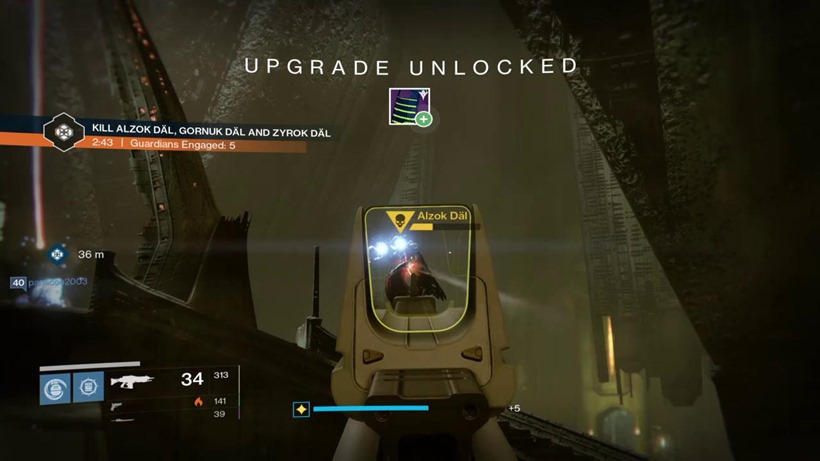
These three are bad enough on their own, but they’ve also got the knack to resurrect themselves with Jason Voorhees levels of gusto. You’ll need to focus on whittling down the health of each Hive Wizard evenly, before thrashing all three to death as quickly as you can.
Krughor – Hive Ogre
This ogre happens to have a shield that no firearm can dent. To short-circuit it, lure Krughor to some cursed Thralls, detonate them with bullets and Krughor will be vulnerable for a few seconds. Rinse and repeat.
Bracus Horu’usk – Taken Centurion
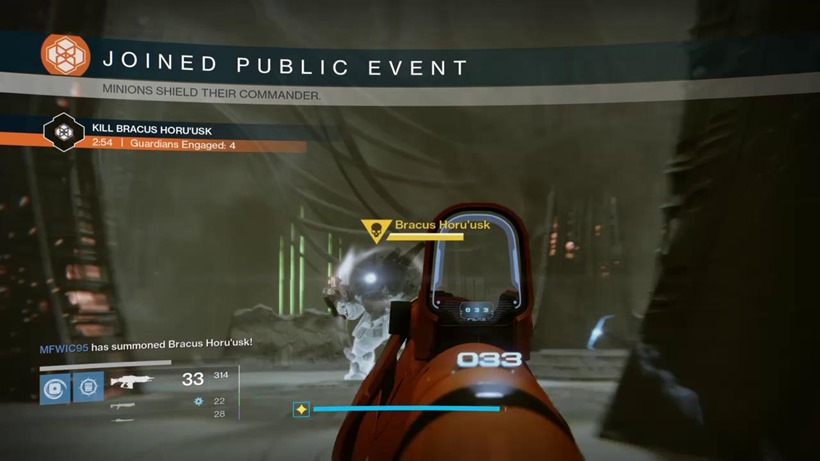
Bracus also has an invulnerable shield, that is bolstered by his troops. You’ll need to clear the court of all enemies before it’ll go down, which will leave the Centurion vulnerable until reinforcements arrive.
Tier Two
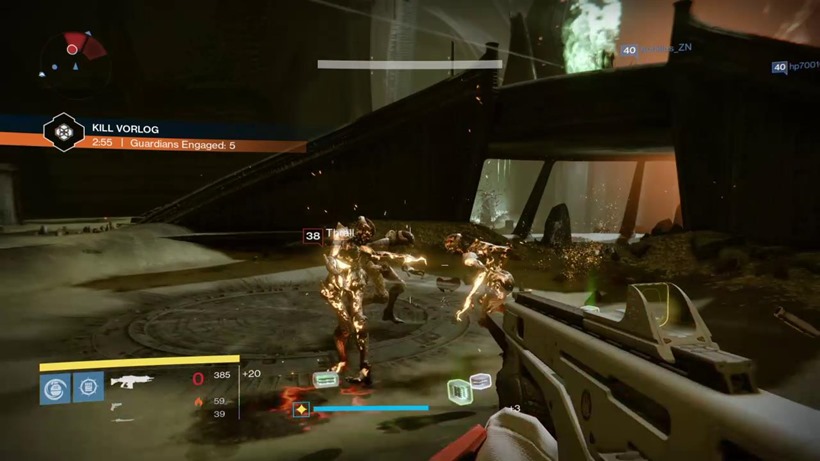
The second tier doubles down on the boss fights, by throwing two of the Tier One bosses at you. Success lies in not only surviving said tag teams, but understanding which bosses to prioritise. Each boss set on Tier Two is chosen randomly, and has a recommended light level of 240.
Tier Three
And now for the big guns. It’s recommended that your light level is around the 300 mark for these fights, which feature rotating bosses every week. The debut week of Destiny: The Taken King featured Kagoor as the Tier Three boss, alongside a Servite Ogre mini-boss. This week, the boss fight is against Thalnok, Fanatic of Crota.
Kagoor
Phase one of the fight will have you taking on the Servite Ogre. The Servite Ogre will be surrounded by other Ogres, a Devoured Shadow and a Maleficent Eye. Focus on taking the eye out first, in order to be buffed with a stacking ability called “Ogre’s Fury”. You’ll now deal increased damage to Ogres, with each Maleficent Eye stacking on the buff up to three times.
Keep yourself buffed, and the Servite Ogre will quickly fall.
Phase two brings Kagoor to the party, who will be vulnerable to damage as soon as the Servite Ogre is dead. He’ll spawn three more Ogres, so focus on killing him as quickly as possible and you’ll receive the following rewards:
- Calcified Fragment XLIX
- Completion of The Court of Oryx
Thalnok, Fanatic of Crota
Thalnok is a damn monster. It’ll spawn with wizards on both sides of the rift and a swordbearer on the ground level and smaller fodder troops.
Thalnok is similar to Crota if you’ve tackled that Raid before. Thalnok’s shield is only vulnerable to damage froma swordbearer weapon, so kill that trooper and grab its relic. The catch here comes from the two wizards, who will refresh Thalnok’s shield if left alone. Kill them quickly, and use anti-solar weapons to drop their shields.
You’ll have around enough time to land three heavy attacks on Thalnock, after which all of his assets in the field will respawn. Also, let your highest-ranking Guardian pick up the sword. The damage output is based on the light level of that Guardian. For your troubles, you’ll get the following rewards:
- Calcified Fragment XLVII
- Completion of The Court of Oryx
And there you go! You’ve gone to court and beaten the system! All that glorious loot and bragging rights, which didn’t help squat when Gavin and I teamed up with Grant Hinds to do a Strike this week. We’re thinking of calling the video Two Titans, A Hunter and a Pizza Pit:
Last Updated: September 23, 2015








RinceThat
September 23, 2015 at 13:10
Sounds like there is some sort of narrative going on.
James Anderton
September 23, 2015 at 13:33
What. Story in Destiny?!
You speak lies heretic!